

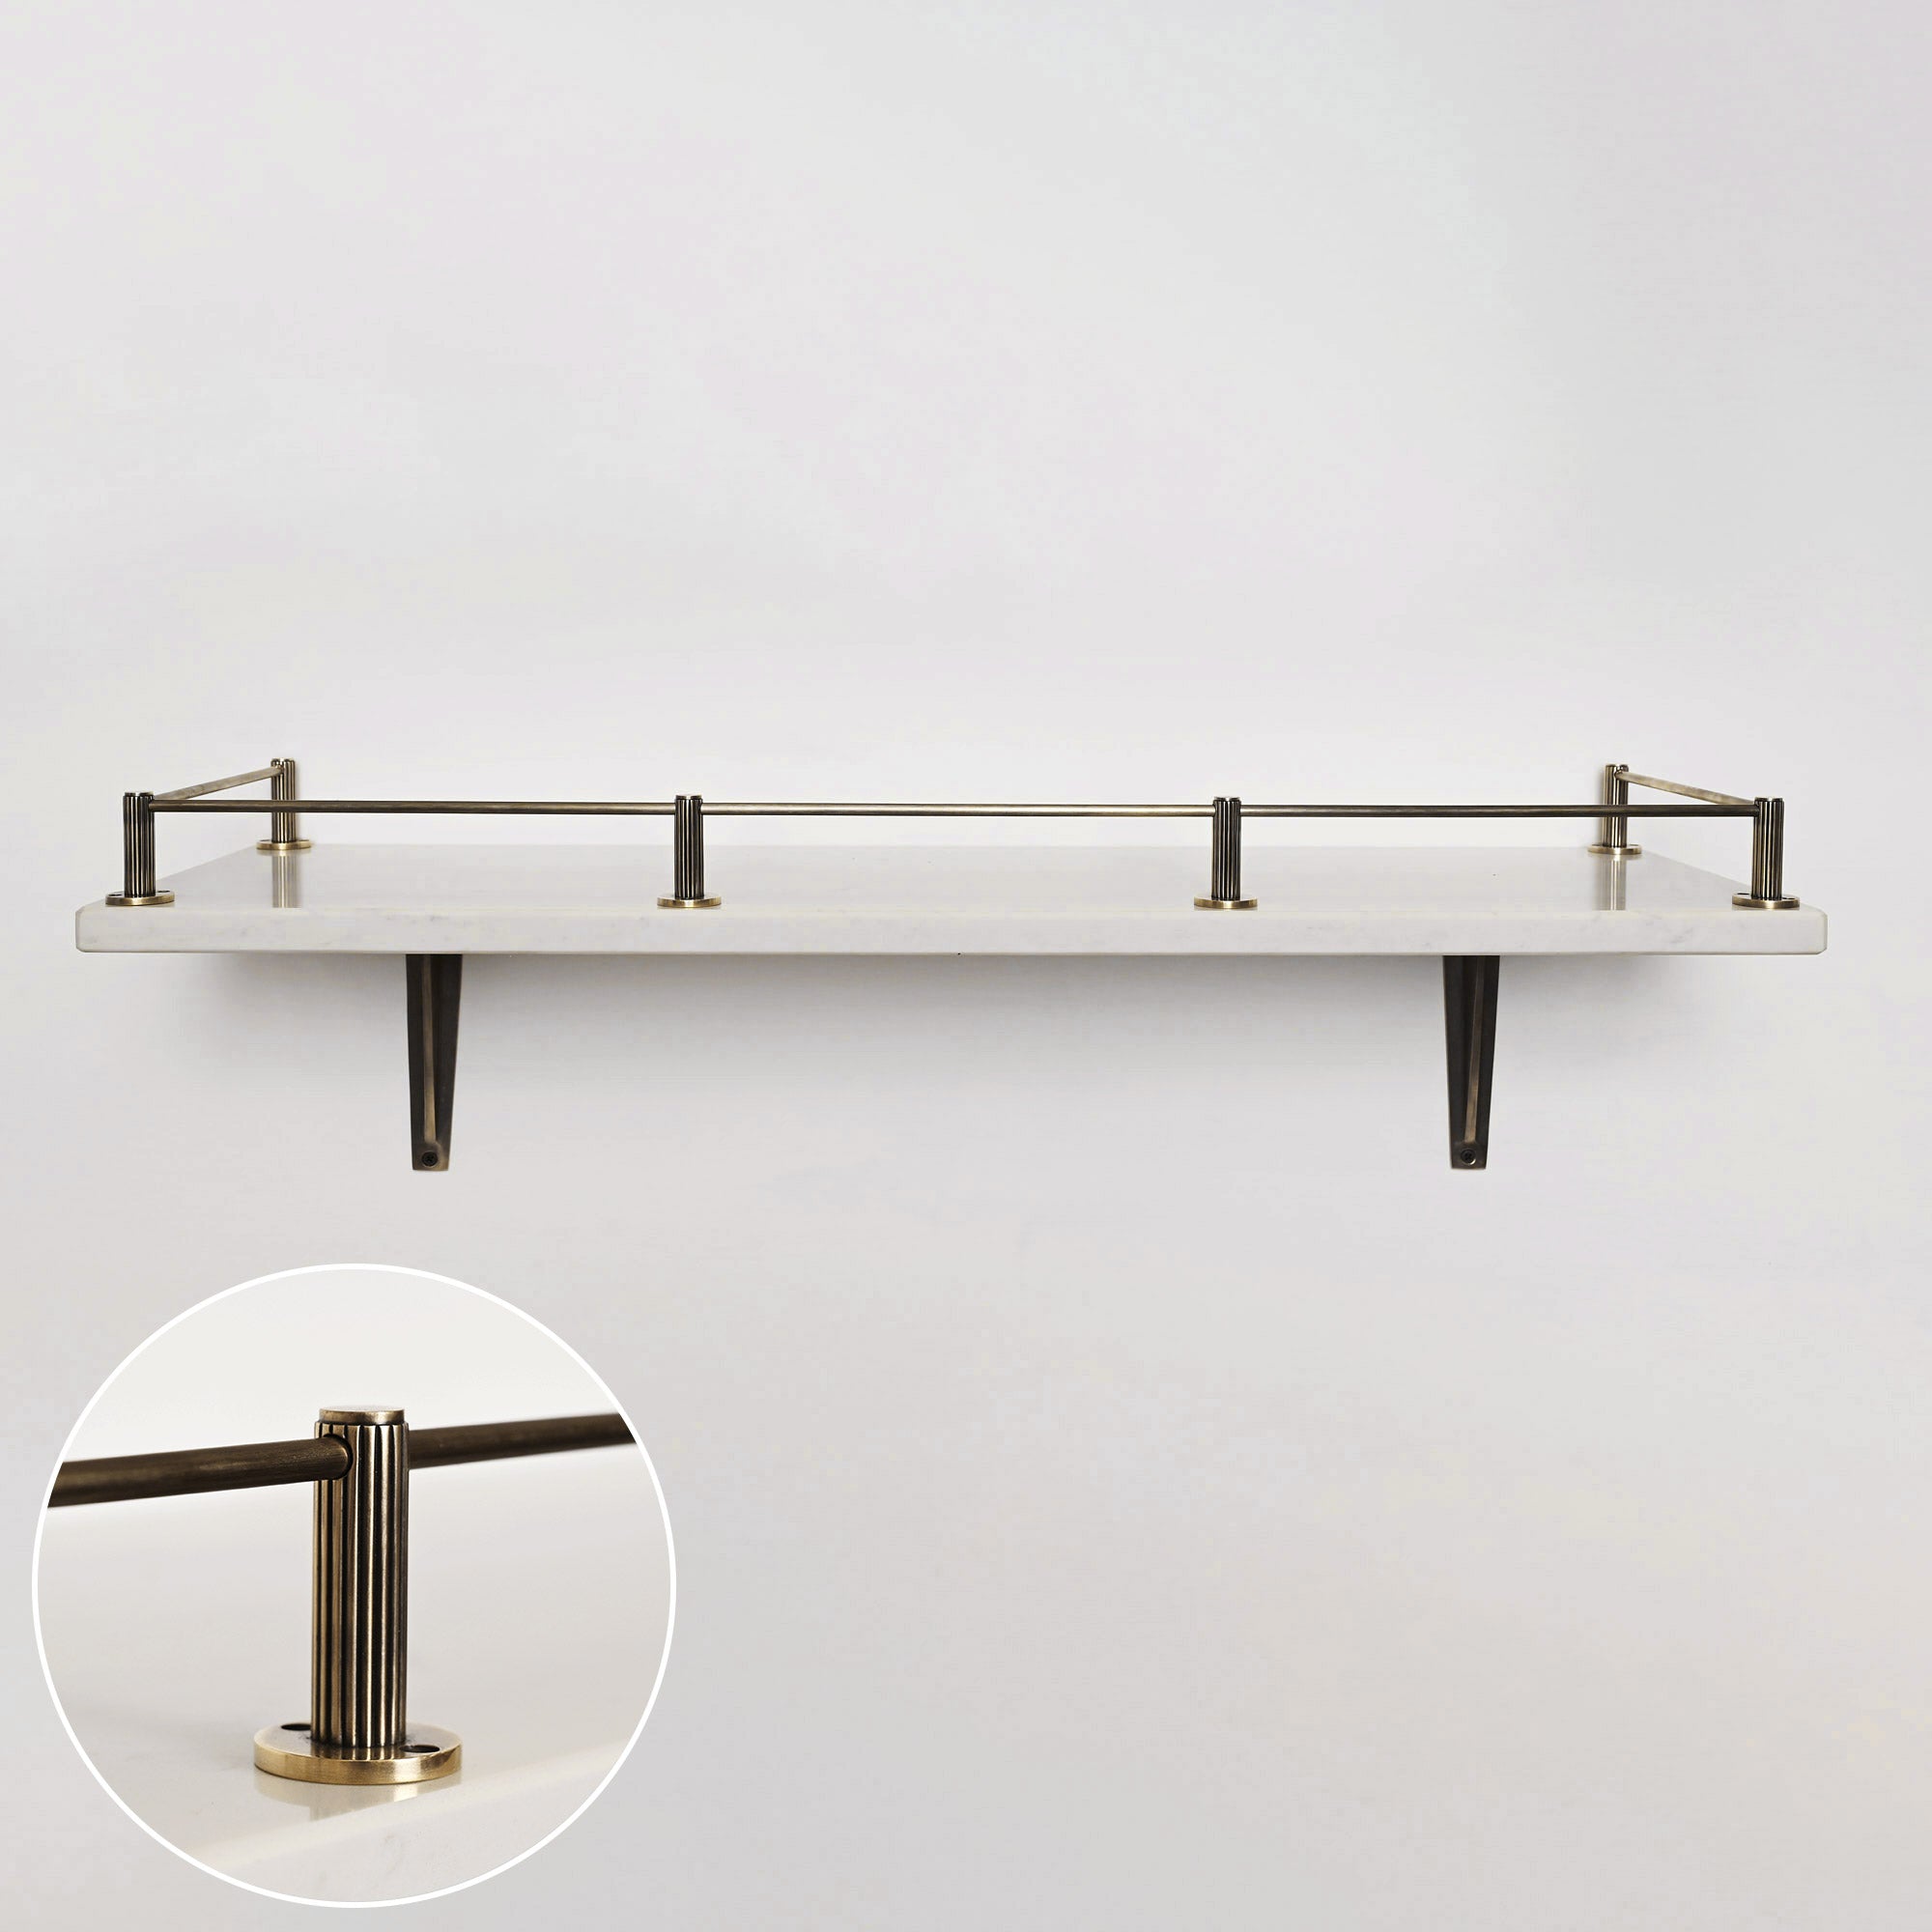


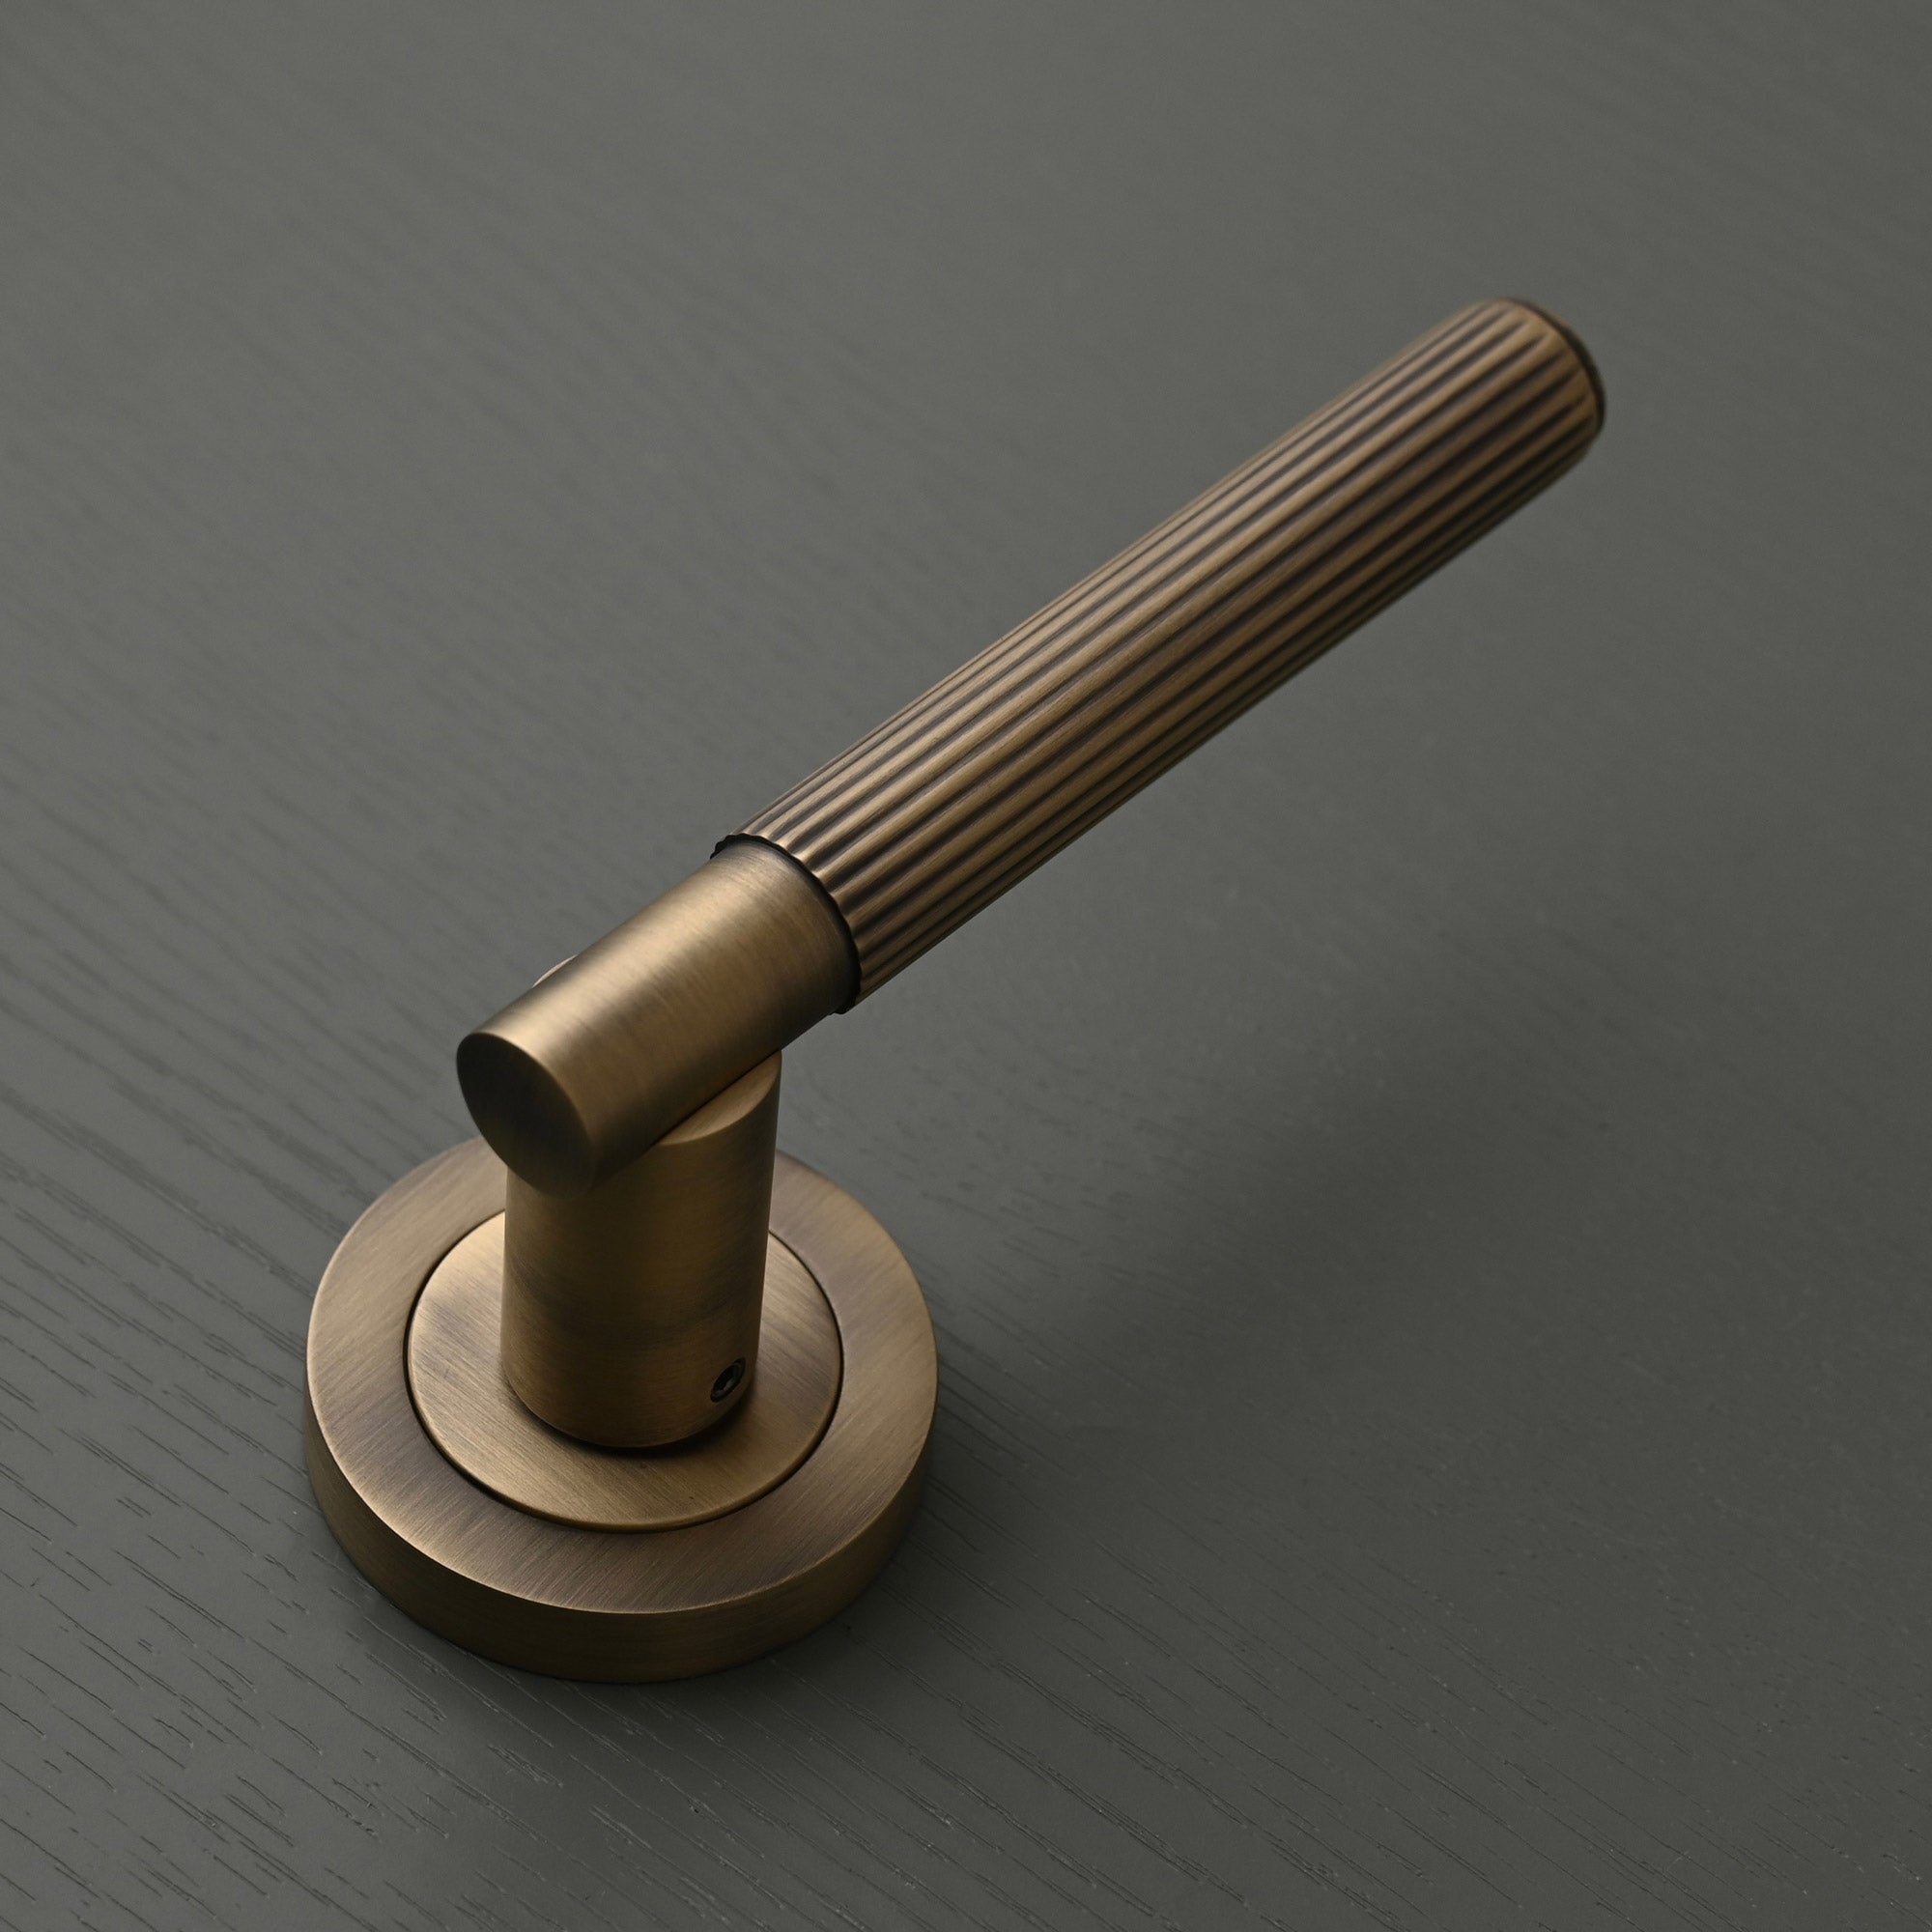

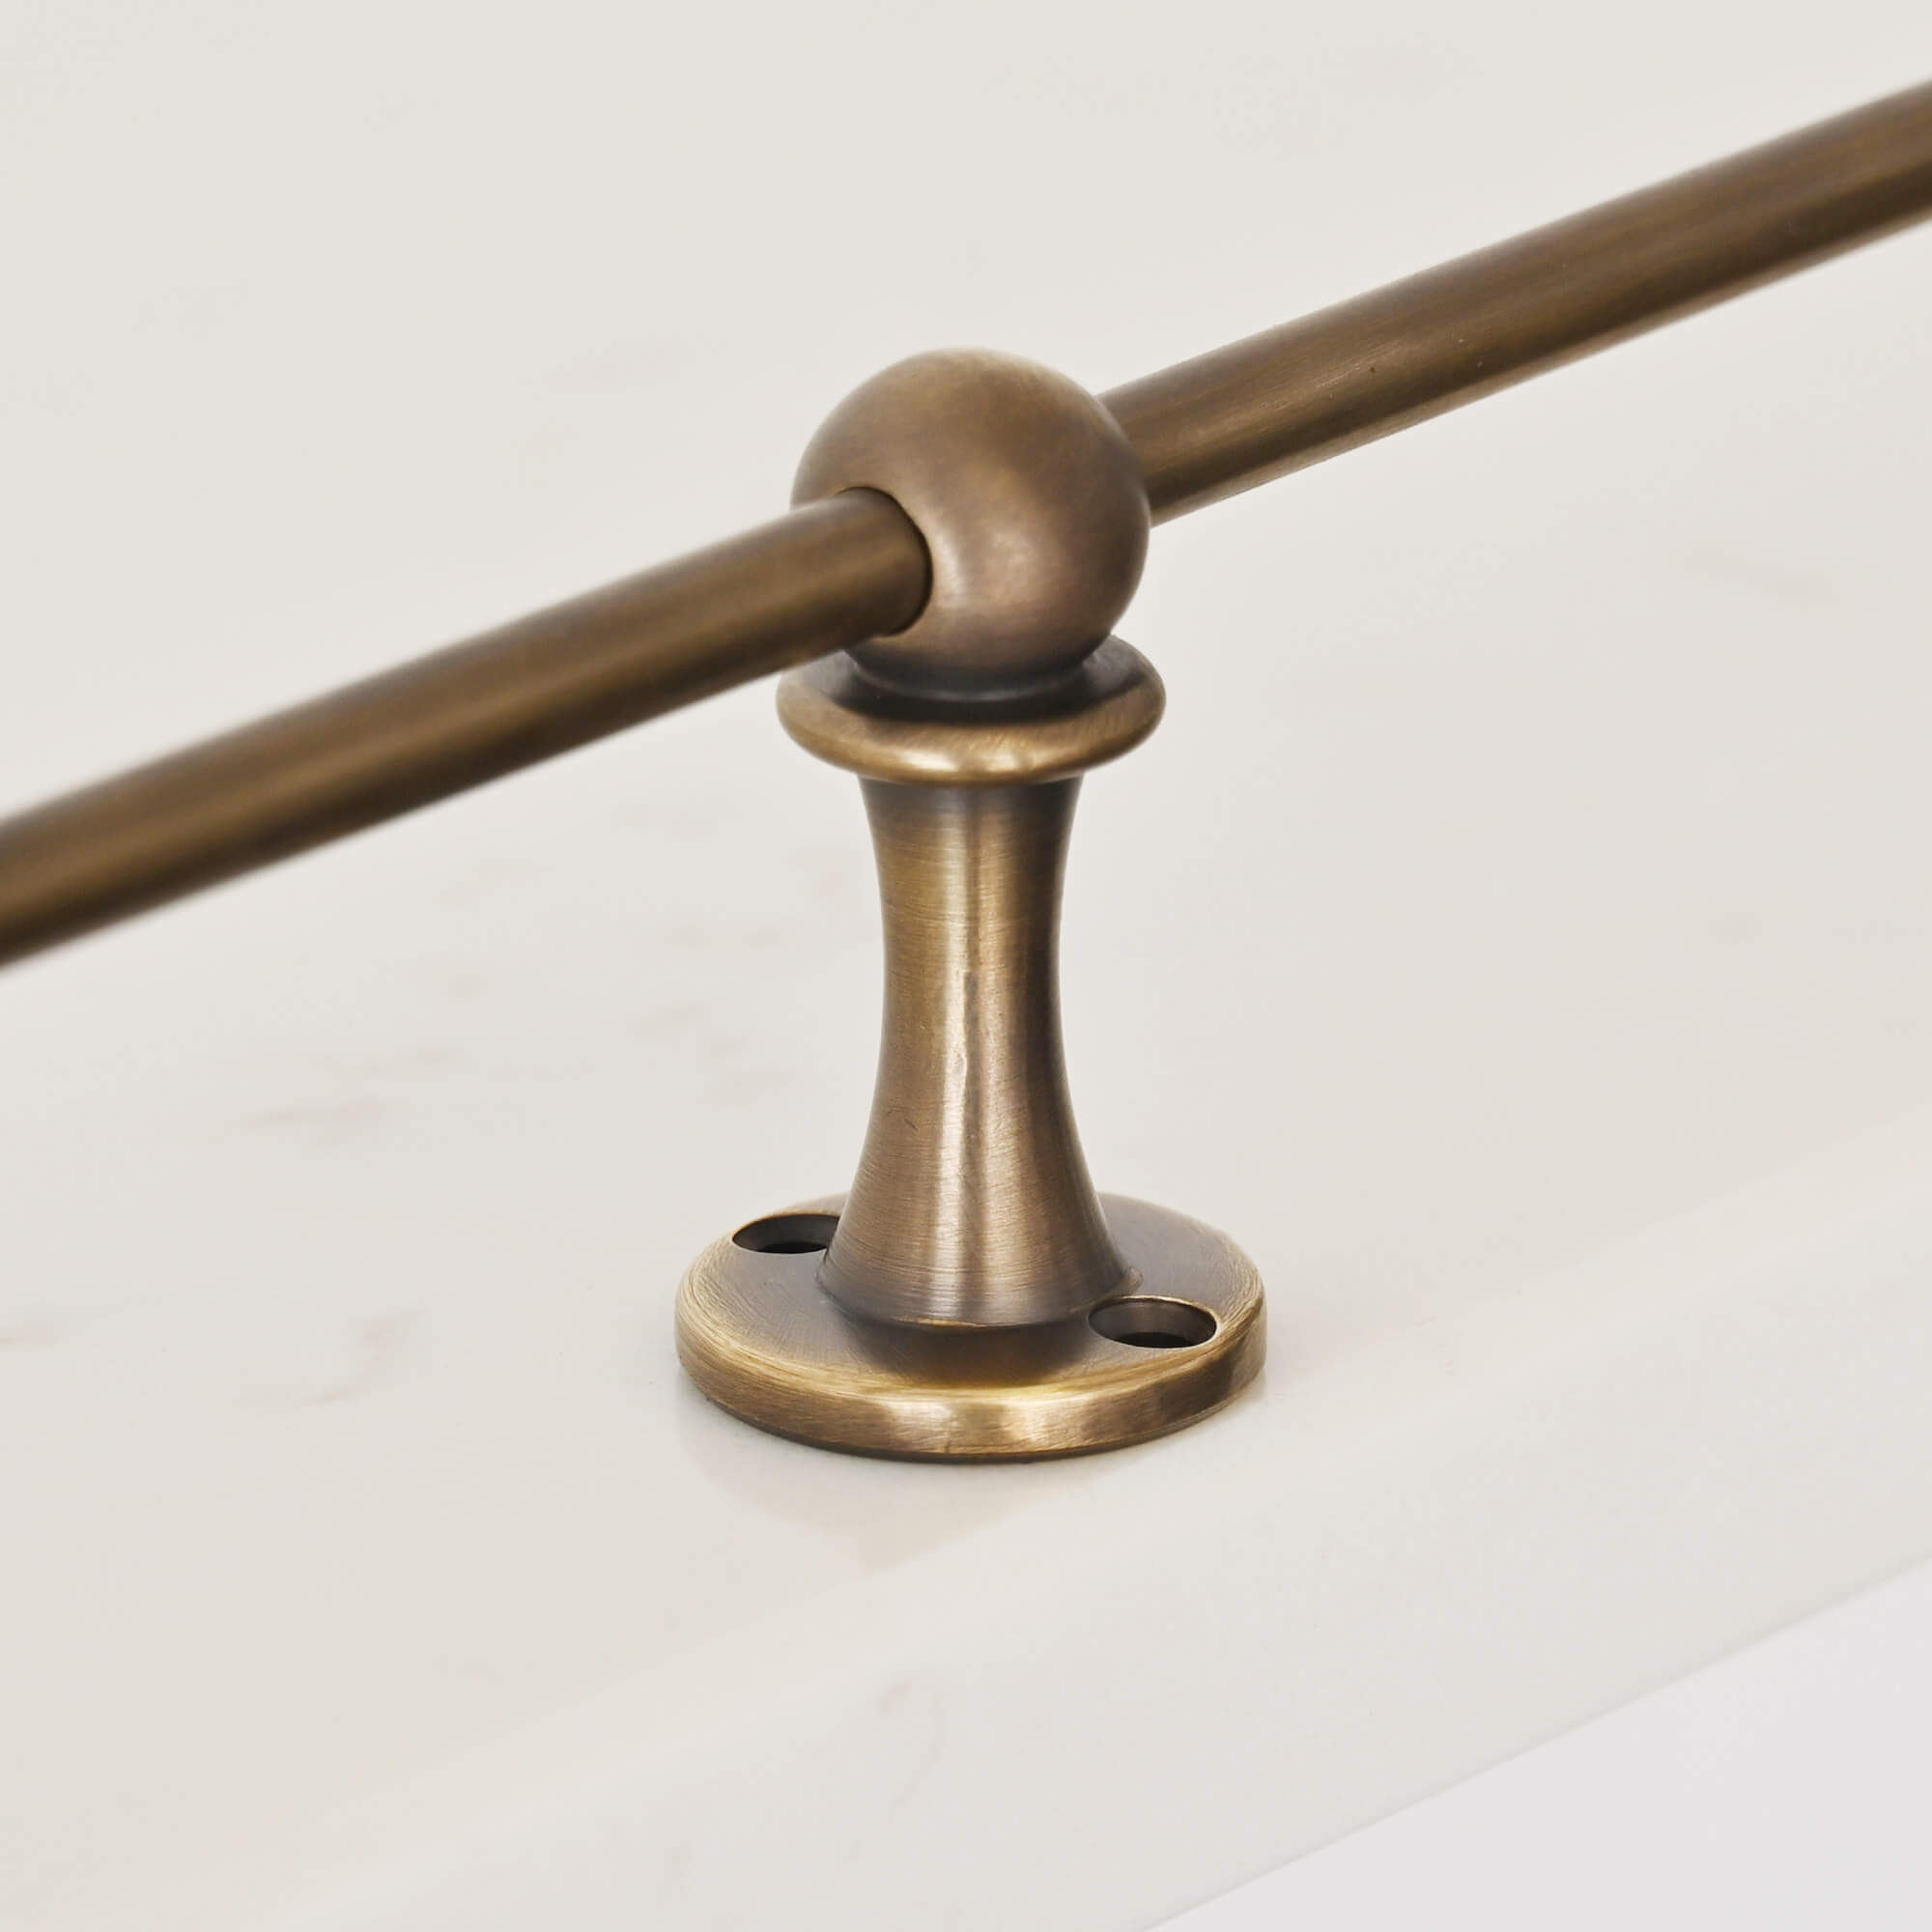
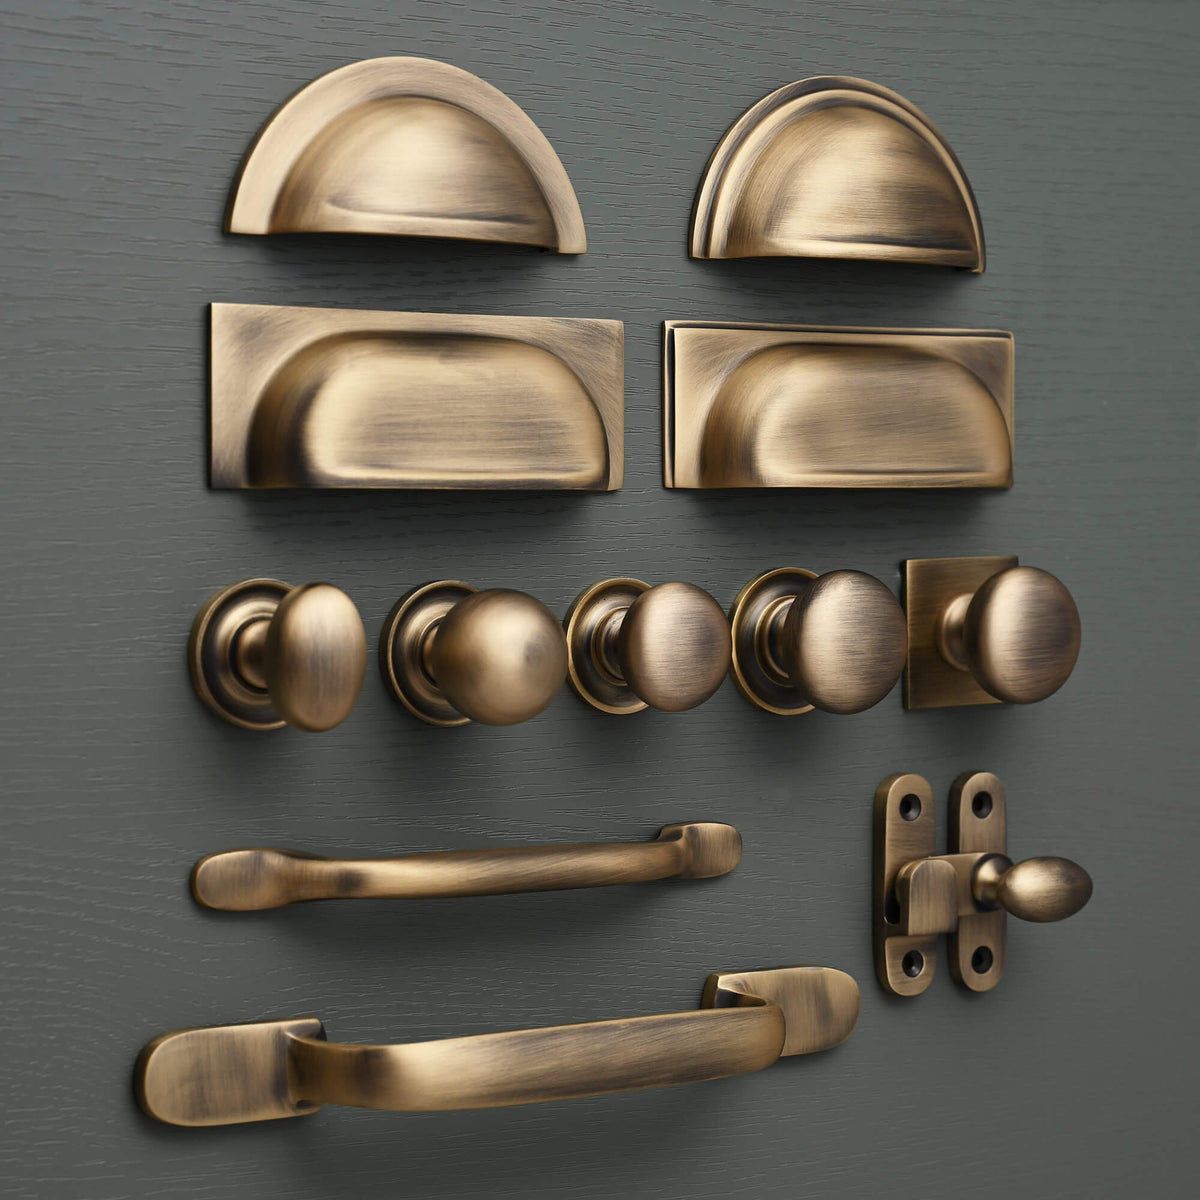



Polished brass is known for its bright, golden finish, but sometimes a softer, more heritage, timeworn look is exactly what a space needs.
The good news is that you do not have to wait years for your brass hardware to develop character. With a little salt, some white vinegar and a sense of creativity, you can encourage polished brass to take on a beautifully authentic, aged appearance at home.

Why Age Your Own Brass Hardware?
Ageing your own brass allows you to create a finish with subtle variations that looks as though it has evolved naturally over time. Yesterhome has loved Ericka @oakandmarsh's recent office desk project, achieving exactly this look!
Your aim might be to soften the shine of polished brass, match new hardware with older fittings, or introduce more warmth and texture into a kitchen, bathroom or piece of furniture.
Because the process develops differently on every item, no two pieces will look the same. That is all part of the appeal.
The finished hardware may feature gentle tonal changes, darker areas around edges and details, and a more lived-in appearance that works beautifully in both traditional and contemporary interiors.
Before

After

The Essentials
You only need a few simple items:
-
Solid, unlacquered polished brass hardware (Lacquered products have a protective coating that will prevent the vinegar and salt from reacting evenly with the surface)
-
White vinegar
-
Table salt
-
A glass or plastic container
-
A soft cloth
-
Mild washing-up liquid
-
Protective gloves
-
Fine wire wool or a non-abrasive pad, if required
It is always worth testing the process on a spare piece or an inconspicuous area first.
Clean the Hardware
Begin by washing each handle using warm water and a small amount of washing-up liquid. This will remove grease, fingerprints and residue that could affect the final result.
Rinse thoroughly and dry with a clean cloth. Try not to touch the surface too much after cleaning, as oils from your hands can leave marks.
Prepare the Vinegar and Salt Mixture
Pour enough white vinegar into your container to cover the brass hardware.
Add a generous amount of salt and stir until much of it has dissolved. There is no need to be overly precise. Part of the fun is experimenting with the strength of the mixture and the amount of time the brass is exposed to it.
Place the hardware into the solution, making sure every surface you want to age comes into contact with the liquid.
Let the Transformation Begin
Leave the brass in the mixture and check it regularly.
You may begin to notice the bright, polished finish softening and becoming more muted. Depending on the brass, the strength of the mixture and the ageing effect you want, the process may take anywhere from a short soak to several hours.
Turn the pieces occasionally so the finish develops more evenly.
For a lighter, gently aged effect, remove the hardware sooner. For a deeper, more dramatic finish, leave it longer and keep checking the colour.
Do not worry if the finish initially looks uneven. Natural aged brass is full of variation, and the appearance can often be adjusted during the final stages.
Rinse and Review
Once you are happy with the colour, remove the hardware and rinse it thoroughly with clean water.
Dry each piece with a soft cloth and take a moment to inspect the finish.
This is where the creative part really begins. You can leave the hardware exactly as it is, or gently rub selected areas with fine wire wool or a soft abrasive pad.
Lightly polishing raised details, edges and frequently touched areas can reveal hints of brighter brass underneath. This creates a convincing, naturally worn effect and adds extra depth to the finish.

Allow the Brass to Continue Ageing Naturally
Once reinstalled, the brass will continue to change through contact with the air, moisture and everyday use.
Areas that are handled frequently may become brighter, while recessed details may remain darker. Over time, the finish will become even more individual.
That evolving character is one of the reasons we love unlacquered brass. It does not remain perfectly uniform. Instead, it develops a story of its own.
Make the Finish Your Own
There is no single correct way to age brass.
You could create a light antique effect for a shaker kitchen, a deeper aged finish for a vintage cabinet, or a softly mottled look for a more rustic interior.
Try experimenting with different soaking times or gently polishing certain areas after ageing. You can even age several pieces slightly differently to create a collected, authentic feel.
The process is simple, affordable and incredibly satisfying. Watching bright polished brass transform into something warmer, richer and full of character feels a little like uncovering a hidden treasure.
A Few Important Tips
Always work in a well-ventilated area and wear protective gloves.
Never mix vinegar with bleach or other household cleaning chemicals.
Remember that results can vary depending on the exact brass composition and surface treatment. Check that your hardware is solid, unlacquered brass before beginning, and always test first.
Most importantly, embrace the imperfections. The small differences in colour and texture are what make aged brass so beautiful.


