


Whether you are starting from scratch or renovating your existing kitchen, open shelving has become a staple. It looks great in all kitchen types and is practical too. If you are dubious about exposing your clutter to the world, opening shelving encourages you to live by the decluttering rule; only keep an item if it’s useful or brings you joy aesthetically.
Here’s how you can create your own open shelving by following these simple steps;
You will need ...

Shelving. We’ve used a lovely plank of oak which has been planed and stained with Osmo Polyx Oil – Raw. We have chosen our Ironbridge Shelf Brackets in black which is a lovely contrast against the light oak. As our shelf is relatively small, two brackets are enough. We recommend fitting a bracket every 60cm or so for light to medium loads.
Tools needed;
Metal detector, Pencil, spirit level, drill, masonry or wood bit to fit wall plugs, screwdriver, possibly a straight wooden batten, wall plugs.
*Please note there are many different types of wall plugs available, choose wall plugs that are recommended for the type of wall you are fixing to, be it concrete, masonry or panel.
Instructions;
Before deciding where to fix shelf brackets, check walls with a metal detector to make sure that there are no hidden water or gas pipes, electrical or TV wires in the wall. In the absence of a metal detector, check both sides of the wall for electrical, gas or water appliances. Most cables and pipes lie either vertically or horizontally.
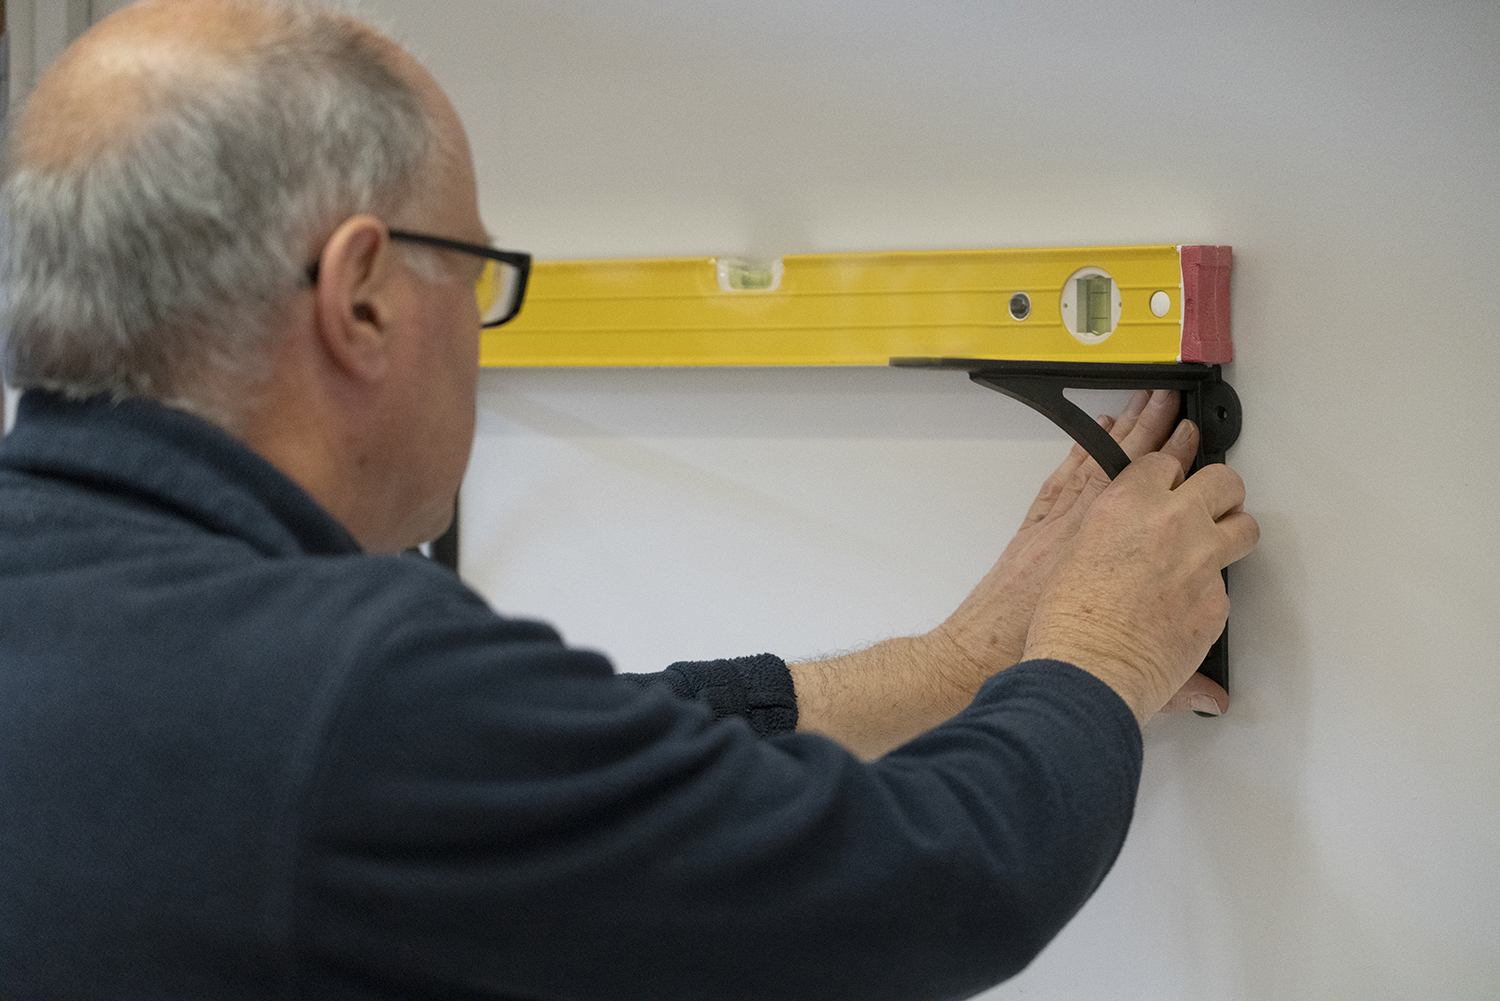
Step 1
Mark the wall with a pencil at the height you want the bottom of the shelf. Use a spirit level to ensure the marks are horizontal. For a long shelf, rest the spirit level on a straight wooden batten.
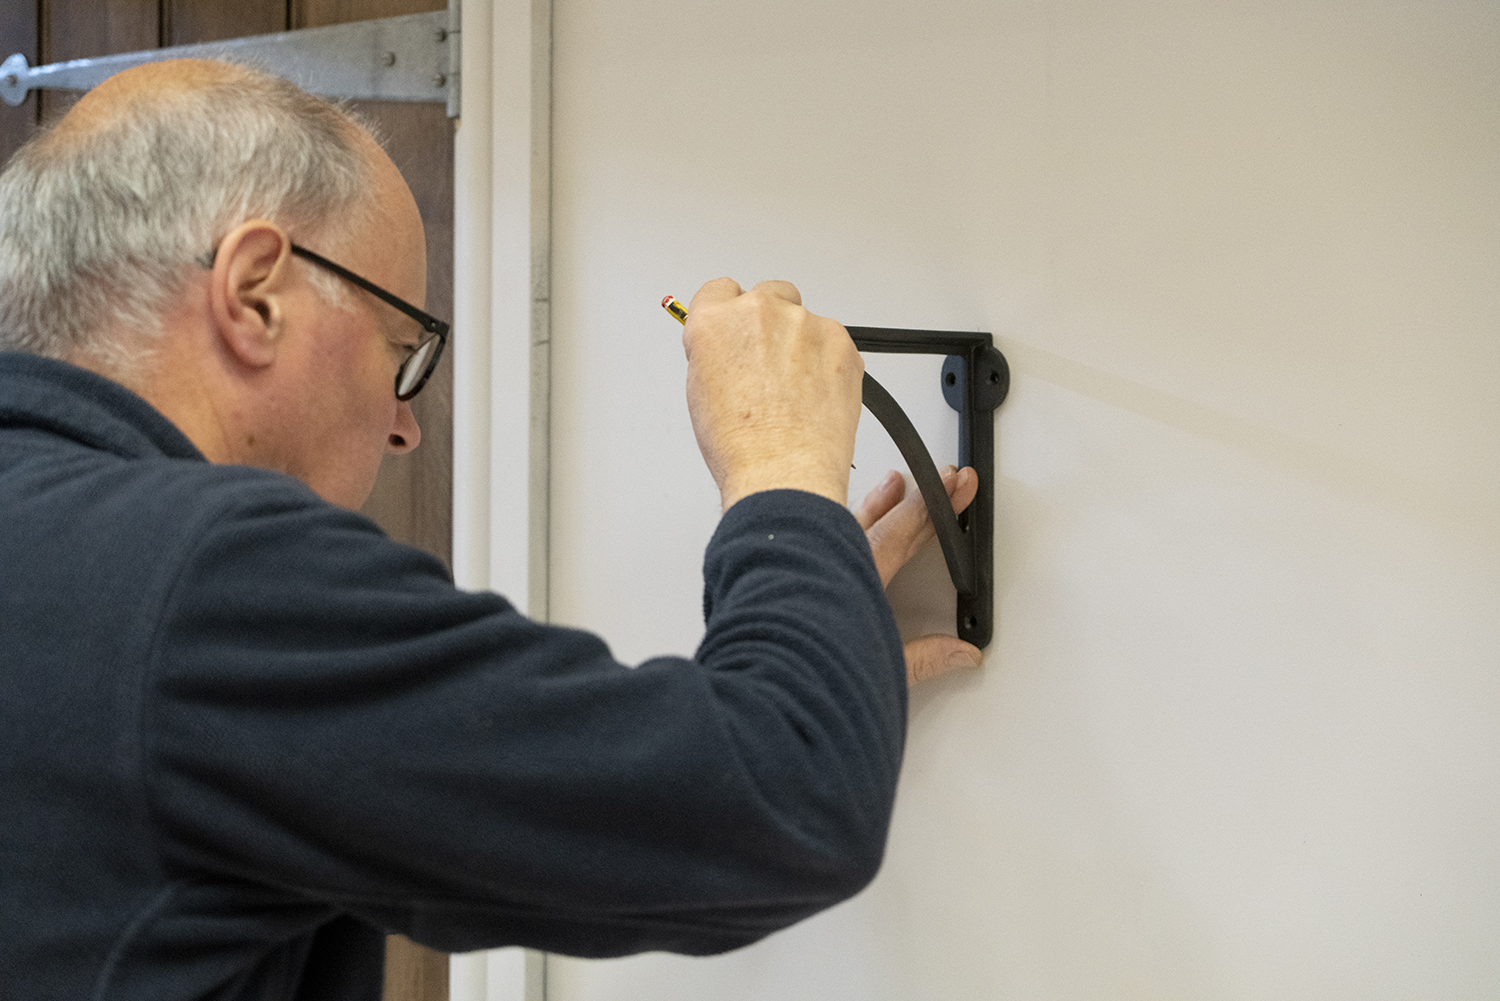
Step 2
Hold one bracket against the wall with the top against the mark. Use the spirit level to check that it is vertical and mark the wall through the screw holes with the pencil.

Step 3
Drill holes about 44mm into the wall. Use a masonry bit or a twist bit for wooden studs.
Step 4
Insert plugs into the holes and screw the first bracket tightly to the wall. If the plug turns in the wall as you drive the screw, remove it, insert a larger one and try again. Do not use plugs in wood.
Step 5
Repeat for the second bracket. If you are fitting a long shelf and are using more than two brackets, it is best to fix the outside ones to the wall and then tie a piece of string tightly between them across the tops. Then the intermediate brackets can be lined up exactly.
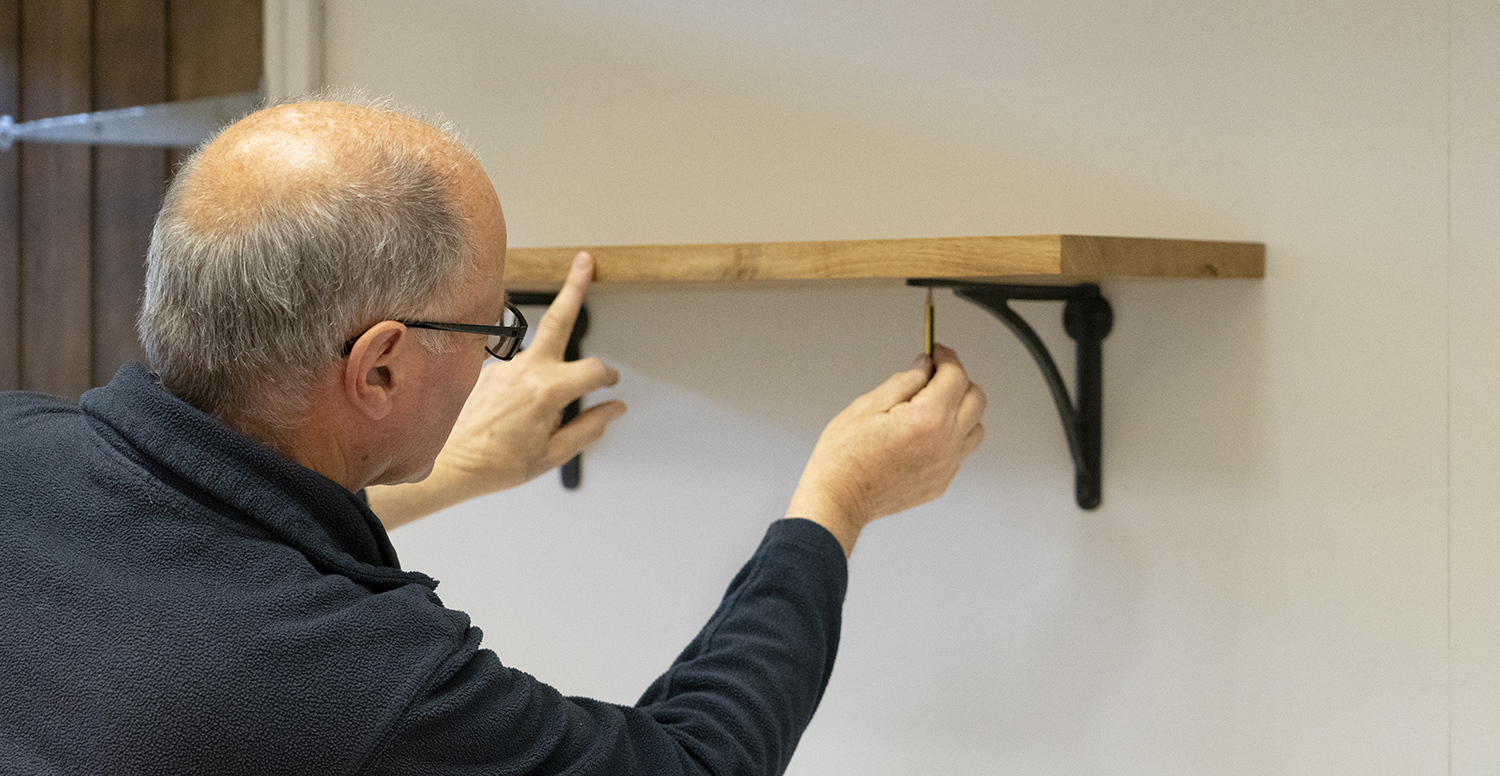
Step 6
Lay the shelf across the bracket. Using a pencil or bradawl, mark the underside through the holes.
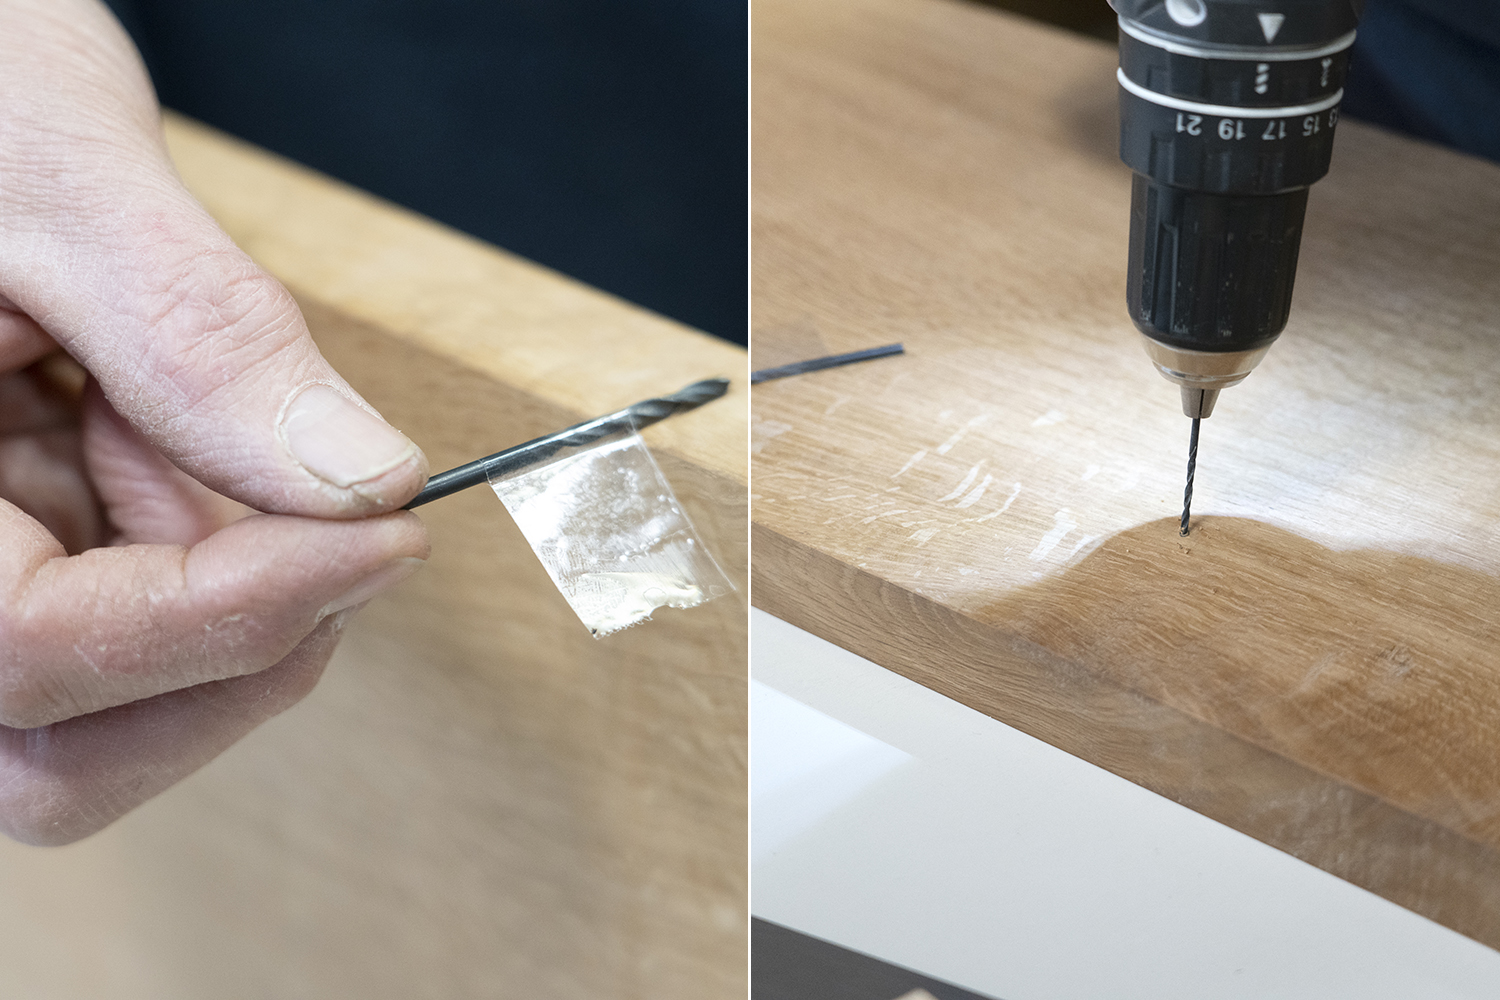
Step 7
Drill pilot holes for the small screws, being careful not to drill right through the shelf.
Top Tip – to avoid drilling through the shelf, mark your drill bit with tape at the correct length before drilling.
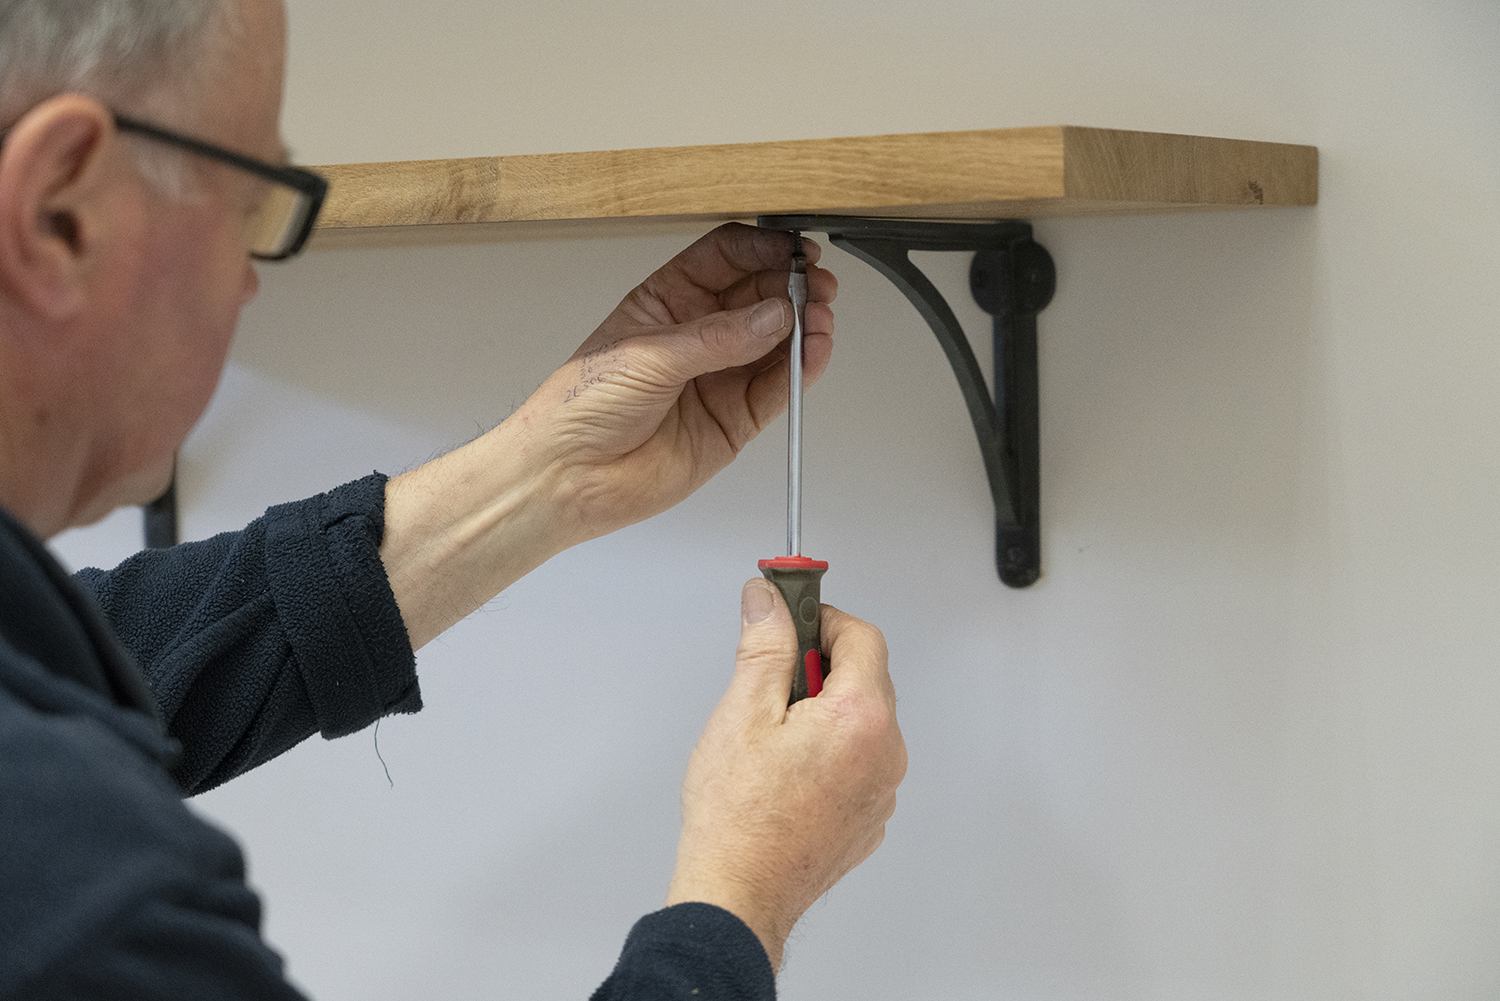
Step 8
Screw the shelf into position.
Top Tip – screw the fixing screw into the shelf whilst on the workbench without the bracket first to make it easier.
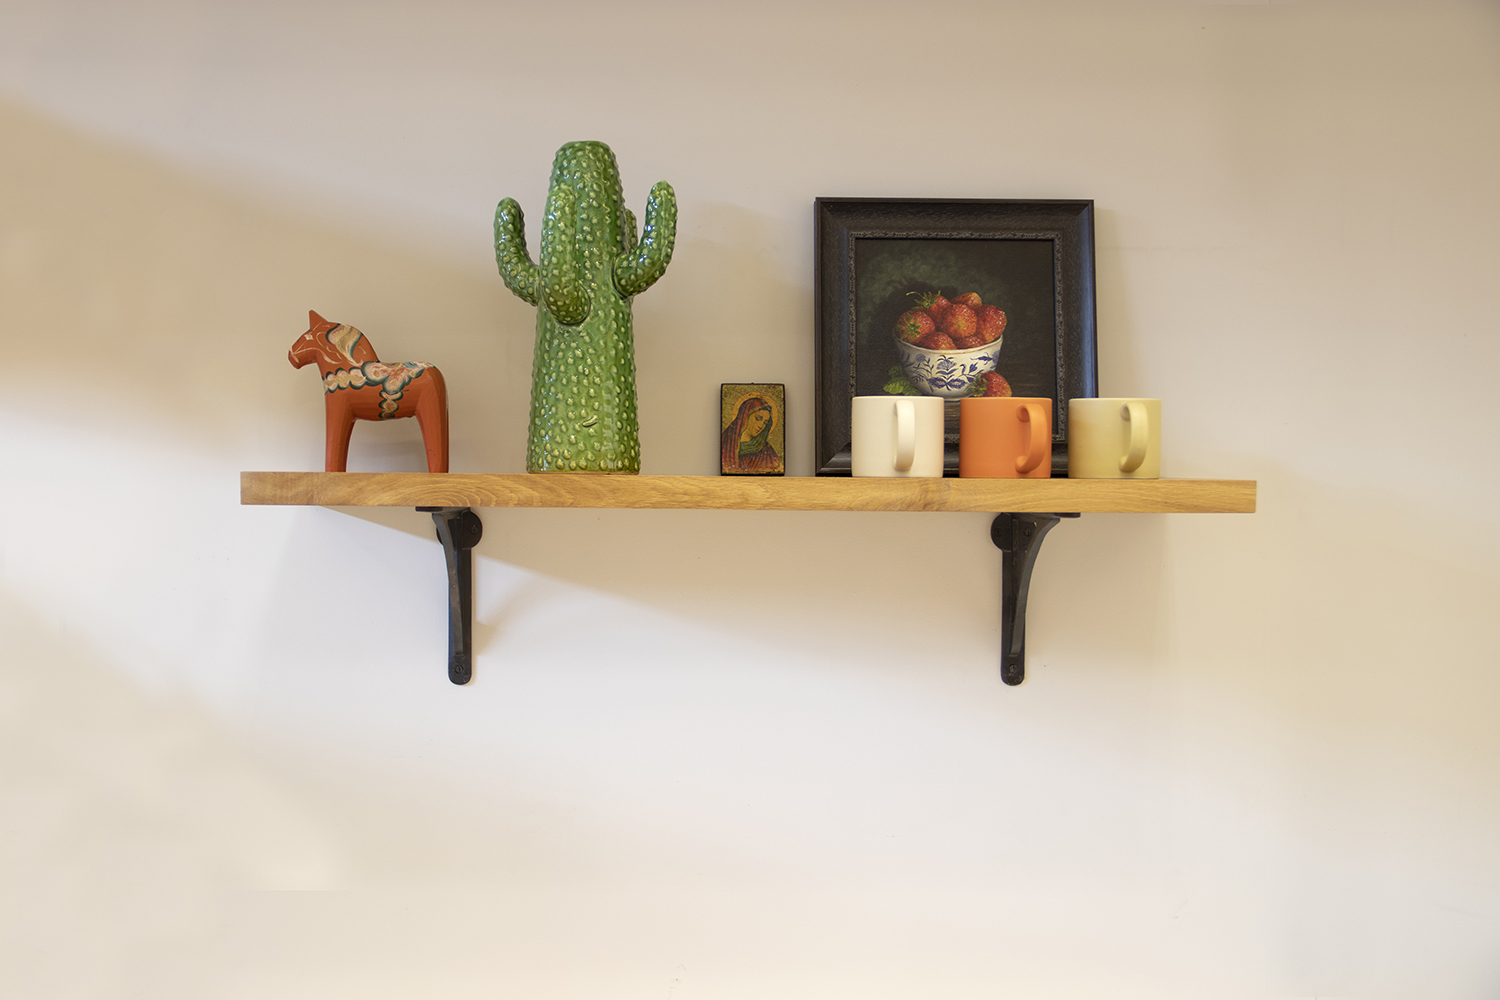
Then hey presto, you have a shelf to display your favourite kitchen accessories.
Shop our range of shelving here.